

Table of Contents
- Understanding Target Panic and Its Root Causes
- Diagnosing Your Target Panic Symptoms
- Target Panic Archery Drills to Rebuild Consistency
- Blank Bale Shooting for Target Panic Recovery
- Developing an Archery Shot Routine for Target Panic
- Your Target Panic Reset Plan: A Progressive Timeline
- Equipment Adjustments and Release Aid Selection
- When to Seek Professional Coaching
- Frequently Asked Questions
Last Updated: October 10, 2026
Understanding Target Panic and Its Root Causes
Overcoming target panic starts with understanding that it's a performance condition where archers lose the ability to hold their sight pin steady on the target. Instead of a controlled aim, the pin floats erratically, making consistent shots impossible. This mental block typically develops after months or years of shooting, often striking archers who've built solid fundamentals.
Target panic stems from three core issues: fear of missing (triggering shoulder tension), overthinking the shot sequence instead of executing automatically, or mismatched equipment that forces physical compensation.
Target panic is reversible with a systematic approach. Understanding your specific symptoms is the first step toward fixing it.
Diagnosing Your Target Panic Symptoms
Identifying your specific symptoms is critical because treatment depends on the root cause and bow type.
Symptom Patterns and Root Causes:
Pin Float (Compound/Crossbow Primary) Your sight pin drifts left, right, up, or down. Root cause: shoulder tension, misaligned peep sight, or fear of missing. Matched drill: Pin-Float Drill (let the pin drift through center without forcing hold)
Flinch or Punch at Release (All Bow Types) Your hand jerks or trigger finger punches involuntarily before firing. Root cause: anticipatory tension or fear of recoil. Matched drill: Back-tension or hinge release practice; blank bale shooting
Freezing at Full Draw (All Bow Types) You get stuck at anchor or can't complete your shot sequence. Root cause: performance anxiety or uncomfortable bow setup. Matched drill: Anchor Drill (5-second holds); equipment check
Target Avoidance or Range Anxiety (Mental Component) You feel anxiety approaching the range or drawing your bow. Root cause: repeated failure or traumatic experience. Matched drill: Blank bale shooting; shot routine practice
Premature Release (Compound Primary) You fire before reaching anchor or before sight picture settles. Root cause: trigger sensitivity too light or learned anticipation. Matched drill: Trigger-weight adjustment; consider back-tension release
Creeping (Recurve/Traditional Primary) Your draw length shortens as you approach the shot. Root cause: insufficient back-muscle engagement or weak anchor. Matched drill: Shot Sequence Drill; back-muscle activation exercises
Diagnostic Process:
Spend one practice session (20-30 arrows) documenting: which symptom appears first, whether it's worse at specific distances or after missing, your bow type and release aid, and whether it occurs during warm-up or only under pressure.
Match your symptom to the root cause and drill above. This diagnosis prevents you from practicing drills that don't address your specific problem.
Target Panic Archery Drills to Rebuild Consistency
Targeted drills rewire your shot sequence by removing target pressure and rebuilding confidence through structured practice.
The Pin-Float Drill: At 10 yards, let your sight pin float around the target's center. Execute a perfect release when the pin drifts through the middle. Shoot 20 arrows. This removes the tension that creates pin float.
The Anchor Drill: Come to full draw and hold for 5 seconds before releasing (10 consecutive arrows). This builds comfort at anchor and proves to your nervous system that holding is safe.
The Shot Sequence Drill: Break your shot into five steps: setup, draw, anchor, aim window, release. Practice each independently for 5 arrows before combining them. This trains automaticity and prevents overthinking.
These drills isolate the problem and rebuild muscle memory and confidence. Most archers see improvement within two weeks.
Blank Bale Shooting for Target Panic Recovery
Blank bale shooting eliminates the visual target, forcing you to rely on form and feel. This is one of the most powerful techniques for overcoming target panic.
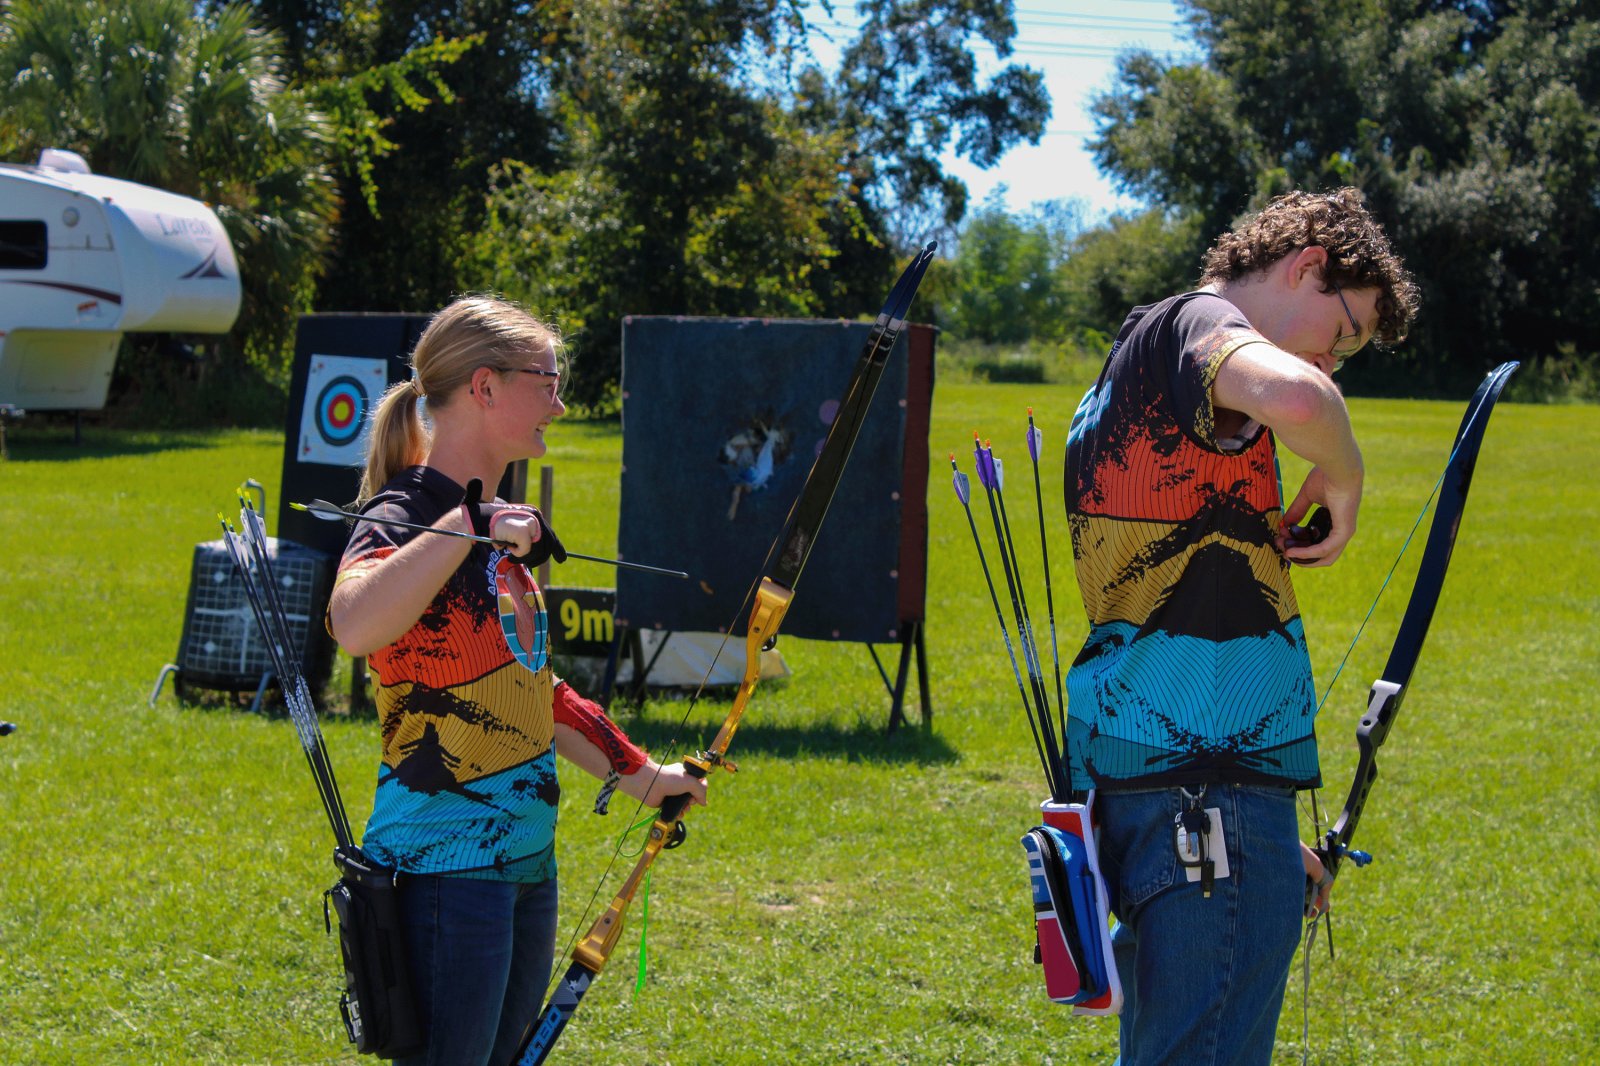
Set up a plain bale at 10 yards with no bullseye or aiming dots. Start with 10 arrows per session, gradually increasing to 20-30. Without a visible target, your nervous system stops triggering panic. Your release smooths, breathing steadies, and anchor stabilizes. After 3-4 weeks, most archers report significantly reduced pin float and restored confidence.

Developing an Archery Shot Routine for Target Panic
A solid shot routine prevents overthinking and keeps focus on execution. Follow this structure: Setup (15s) → Breathing (5s) → Draw (3s) → Anchor (2s) → Aim window (2s) → Release (1s) → Follow-through (2s). Total: 30 seconds per arrow. Write it down and practice 10 times before shooting. Consistency trains automaticity.
Your Target Panic Reset Plan: A Progressive Timeline
Recovery follows a predictable timeline with a structured plan:
Week |
Focus |
Daily Practice |
Target Distance |
|---|---|---|---|
1-2 |
Blank bale fundamentals |
20-30 arrows |
10 yards, no target |
3-4 |
Reintroduce aiming |
20 arrows blank, 10 with target |
10-15 yards |
5-6 |
Build distance gradually |
15 arrows per distance |
15-25 yards |
7-8 |
Restore confidence |
30 arrows mixed distances |
20-40 yards |
9-10 |
Return to normal |
Your normal distance |
Stick to this timeline; rushing triggers relapse. If you regress, return to blank bale for 3-5 days. Most archers see improvement by week 4; significant recovery takes 8-12 weeks.
Equipment Adjustments and Release Aid Selection
Target panic often persists because equipment doesn't fit your body or shooting style. Misaligned setup forces compensation that triggers panic; wrong release aids amplify anxiety.
Critical Bow Setup Checks:
Draw Length Draw length must match your arm length and anchor exactly. An inch too short creates shoulder tension; an inch too long destabilizes anchor. Have a certified technician measure using a draw-length ruler or video analysis. Incorrect draw length is a common hidden cause of target panic.
Peep Sight Alignment If you're tilting your head or squinting, your setup is wrong. Adjust peep position or consider a larger diameter (0.125"-0.156"). Misalignment forces compensation that triggers shoulder tension and pin float.
Anchor Point Comfort Your anchor should feel stable and repeatable. Drifted or uncomfortable anchors trigger freezing or flinching. Verify consistency by filming yourself and checking hand position, jaw position, and string contact.
Bow Weight and Let-Off If draw weight is too heavy, muscles fatigue during aiming, causing creeping or flinching. Reduce by 5-10 pounds if struggling to hold steady. Verify let-off percentage (typically 65-85%); higher reduces fatigue, lower increases stability.
Release Aid Selection and Transition:
Release aid type significantly impacts target panic recovery. Compound shooters have three primary options; recurve and traditional archers typically use finger release.
Trigger-Based Release (Compound) Fires when your index finger presses a trigger. Advantages: familiar, intuitive. Disadvantages: creates anticipation anxiety, especially with flinching or premature release.
Hinge Release (Compound) Fires when your wrist rotates. Advantages: eliminates trigger anticipation, prevents flinching. Disadvantages: steep learning curve (2-3 weeks). Best for: archers with flinching or premature release.
Back-Tension Release (Compound) Fires when you increase back-muscle pressure. Advantages: most forgiving for anxiety, prevents anticipation. Disadvantages: requires 3-4 weeks practice. Best for: severe anxiety, freezing, or inconsistent timing.
Transition Protocol:
Expect 2-4 weeks of reduced accuracy before improvement. Your nervous system must learn a new motor pattern.
- Week 1: Blank bale only. Focus on mechanical motion without aiming. 20-30 arrows, 3-4 times per week.
- Week 2: Add aiming dots. Shoot 10 blank-bale, then 10 target arrows.
- Week 3: Normal target practice at 10-15 yards. Accuracy should stabilize.
- Week 4: Increase distance and volume. Most report improved consistency by week 4.
Bow-Type-Specific Recommendations:
Compound Bow If you're experiencing flinching or premature release, try a hinge or back-tension release for one week of blank-bale practice. If your symptoms improve, commit to the 4-week transition protocol.
Recurve Bow Recurve archers typically use finger release (three-finger or split-finger). Target panic in recurve is often rooted in creeping, inconsistent anchor, or weak back-muscle engagement rather than trigger anticipation. Focus on anchor stability, back-muscle activation, and consistent draw length before considering a mechanical release aid.
Traditional Bow (Longbow, Recurve Without Sights) Traditional archers rely entirely on instinctive or gap shooting, so target panic manifests differently, often as freezing, target avoidance, or loss of confidence in distance judgment. Equipment adjustments are less relevant; focus on blank-bale practice, shot routine, and mental confidence-building instead.
When to Seek Professional Equipment Help:
If you've checked draw length, peep alignment, and anchor point and still can't identify the problem, or if you're uncertain whether your bow setup is correct, schedule a fitting with a certified technician. Many pro shops offer free or low-cost equipment evaluations.
When to Seek Professional Coaching
Self-directed recovery works for many archers, but some situations benefit from professional guidance. A certified coach can identify mechanical flaws you can't see and provide real-time feedback that accelerates progress.
Consider working with a coach if:
- You've practiced the drills for 4 weeks with no improvement
- Your target panic is severe enough to cause anxiety before shooting
- You've tried multiple approaches and nothing has worked
- You're preparing for competition and need to resolve this quickly
- You're uncertain whether your bow setup is correct
A good coach will film your shots, analyze your form, and design a personalized recovery plan. They'll also help you understand whether your target panic stems from mechanics, mental patterns, or equipment issues.
Central Florida Archery offers coaching sessions tailored to archers at every level. Our certified instructors understand both the physical and mental components of recovery. We combine video analysis, structured drills, and equipment tuning to get you back to confident, consistent shooting.
Target panic feels permanent when you're in the middle of it. It's not. The archers who recover fastest are the ones who attack it systematically: they diagnose their specific symptoms, follow a progressive practice plan, and adjust their equipment or technique as needed. Most importantly, they stick with it long enough to rebuild the neural pathways that support confident shooting.
If you're struggling with target panic, we're here to help. Our certified coaches and technicians can assess your situation, design a recovery plan, and provide the guidance you need to get back to enjoying archery. PLAN A VISIT and let's work through this together.
Frequently Asked Questions
What is target panic in archery, and what causes it?
Target panic is an involuntary flinch or loss of control that occurs when aiming at a target, causing archers to punch the trigger, jerk the bow, or lose the sight pin. It develops after months or years of shooting, often triggered by missing an important shot, experiencing frustration, or overthinking the aiming process. The condition rewires your brain to associate target shooting with failure, making it difficult to execute a smooth shot sequence even when your form is sound.
How long does it take to overcome target panic?
Recovery typically takes 4 to 12 weeks, depending on severity and consistency of practice. Archers using blank bale shooting and progressive drills see improvement within 2-3 weeks. However, full confidence restoration and prevention of relapse requires ongoing practice with proper shot routine and mental focus. Some archers experience breakthrough moments within days; others need several months of dedicated work before returning to competition.
What drills help with target panic?
Blank bale shooting is the most effective drill—shoot at a target with no aiming dots to focus on form and release. Follow this with progressive distance work, starting at 10 yards and moving back only after 20 perfect shots. Hinge release practice trains your fingers to stay relaxed. Back-tension release drills teach you to execute the shot without conscious trigger involvement. Combine these with a consistent pre-shot routine to rebuild muscle memory and mental confidence.
Should I focus on the pin or the target when shooting a bow?
During the aiming phase, focus softly on the target, allowing your sight pin to float naturally within the aiming window rather than forcing it to hold dead center. This float-around-the-mark approach reduces tension and prevents the overthinking that triggers target panic. Your peripheral vision tracks the pin's position; your conscious mind stays relaxed on the target. This mental approach is central to overcoming target panic and maintaining consistent accuracy.