

Table of Contents
- Step 1: Inspect Your Bow and Check All Components
- Step 2: How to Tune a Bow for Hunting
- Step 3: How to Sight In a Hunting Bow
- Step 4: Match Your Arrows and Broadheads to Your Bow
- Step 5: Bowhunting Setup Checklist
- Step 6: Establish Your Bow Hunting Practice Routine
- Step 7: Pre-Hunt Field Inspection and Maintenance
- Frequently Asked Questions
Last Updated: October 11, 2026
Step 1: Inspect Your Bow and Check All Components
Examine every part of your bow before hunting season arrives to prepare bow for hunting and catch problems that could cost you a clean shot.
Check your limbs for cracks, splits, or visible damage by running your fingers along their entire length, small cracks spread quickly under load. Inspect your bowstring for fraying, separation, or worn spots, as a damaged string can snap mid-draw.
Inspect your cam and pulleys for smooth rotation by spinning them by hand. Check all bolts and fasteners, a loose limb bolt changes your draw weight and accuracy. Tighten everything without over-torquing, which can crack the riser.
Inspect your arrow rest for cracks or bent arms, as any damage affects flight. Examine your sight for loose pins or damaged housings, and verify your peep sight sits straight and isn't cracked.
Perform a complete equipment inspection at least two weeks before hunting season to allow time for repairs.
Step 2: How to Tune a Bow for Hunting
Tuning adjusts your bow so arrows fly perfectly straight, which is essential for accurate shooting.
Check your nocking point, where your arrow attaches to the bowstring. If it's too high or low, your arrow launches at an angle. Use a nocking point tool to set it about 1/8 inch above square.
Adjust your rest position by moving it slightly left or right until arrows group tightly at your practice distance. Make small, quarter-inch adjustments.
Check your draw length, the distance from bowstring to grip at full draw. If it's wrong, your shots will be inconsistent. Have a professional measure you or use a draw-length arrow.
Paper Tuning and Arrow Flight Verification
Paper tuning reveals how your arrow flies by shooting through a sheet of paper to see the hole pattern, which indicates if your bow is tuned correctly.
Set up a sheet of paper in a frame about 6 feet from your bow and shoot an arrow through it. A perfect tear is a small hole with four symmetrical tears, one from the tip, one from the fletching, and two from the sides.
If tears are uneven, adjust your rest or nocking point. A tear pointing left means your arrow angles left; pointing up means it's climbing.
Repeat until your tears are symmetrical. Paper tuning is the most reliable way to verify your bow is truly tuned.
Step 3: How to Sight In a Hunting Bow
Sighting in adjusts your sight so arrows hit where you aim, different from tuning, which makes arrows fly straight.
Understanding Sight Adjustment Mechanics
Your sight has two adjustment screws: one for elevation and one for windage.
Write down your sight settings at each distance so you can return to proven settings if your sight gets bumped.
The Distance-Progression Sighting Process
Start at 10 yards in a controlled environment. Shoot three arrows from a stable position and measure where they group.
Adjust and shoot three more arrows. Repeat until your group is centered at 10 yards, then move to 20 yards.
At 20 yards, repeat the process. Shoot three arrows, measure the group, and adjust your sight. Continue until your group is centered.
Move to 30 yards and repeat. Since most bowhunting shots occur at 30 yards, spend extra time here.
Move to 40 yards. Shoot three arrows and adjust if needed.
Troubleshooting Common Sighting Problems
If arrows group but don't move when you adjust your sight, your adjustment screws may be stripped. Stop and have your sight inspected by a professional.
If groups spread as you increase distance, your bow may not be properly tuned. Return to paper tuning before continuing with sighting.
If arrows group tightly at 20 yards but spread at 30 yards, your arrow spine may be incorrect.
If sight adjustments don't move your group, confirm your sight is attached and not loose.
Windage Verification and Environmental Factors
Once your sight is centered at 20, 30, and 40 yards, test your windage by shooting from slightly different angles.
Practice shooting from different positions, standing, kneeling, and elevated. If your groups shift significantly when you change position, your form or bow setup needs adjustment.
Confirming Sight-In Accuracy
Shoot a final verification round at 30 yards, five arrows should group within 2 inches of your aim point.
If you cannot achieve a tight group at 30 yards after multiple attempts, have a professional inspect your bow.
Step 4: Match Your Arrows and Broadheads to Your Bow
Your arrows must match your bow's specifications. Arrow spine is the stiffness of the shaft, too stiff or too soft will cause your arrows to veer off course.
Check your bow's recommended arrow weight. Most bowhunters choose arrows in the middle of their bow's range for a balance of speed and impact.
Match your broadhead weight to your field points. A mismatch throws off your aim, and poorly designed broadheads create drag and reduce accuracy.
Bear The Hunting Public Adapt 2 RTH Package True Timber Strata/Black 45-60 RH →
At Central Florida Archery, we carry the Easton 5.0 Arrows with HIT Inserts for hunters who want lightweight, small-diameter shafts that deliver enhanced penetration and higher downrange velocity. We also stock the Magnus Stinger 2-Blade Broadheads, which fly true even from fast bows and are backed by a lifetime guarantee.

Test your broadhead flight before hunting season. Shoot broadheads at the same distance as your field points, they should group together.
Step 5: Bowhunting Setup Checklist
Perform a complete pre-hunt inspection the night before your hunt and again in the field before settling into your stand.
Bowstring and Cable Condition
Inspect your bowstring for fraying, separation, or worn spots. Run your fingers along its entire length and look for loose or unraveling serving. Check your cables for the same issues. Replace any damaged string or cables before hunting.
Wipe your bowstring clean with a dry cloth. Dry it completely if wet from dew or rain.
Limbs, Riser, and Fasteners
Examine both limbs for cracks, splits, or visible damage, paying special attention to where the limb connects to the riser. A cracked limb changes your draw weight and accuracy. Do not hunt with a cracked bow.
Check every bolt and fastener on your bow. Use an Allen wrench to tighten all fasteners without over-torquing. Check your bow's manual for recommended torque values.
Arrow Rest and Sight Alignment
Inspect your arrow rest for cracks or bent arms. Ensure it's secure and spin it by hand to confirm it moves smoothly and returns to the same position.
Examine your sight for loose pins or damaged housings. Shake it gently to confirm nothing rattles. Verify your peep sight sits straight and is not cracked. Look through it from your shooting position to confirm a clear view of your sight pins.
Arrows and Broadheads
Inspect each arrow shaft for cracks or bends and replace any damaged arrows. Check that your broadheads are sharp and seated firmly. Replace dull or loose broadheads.
Quiver, Stabilizer, and Release Aid
Confirm your quiver is secure and arrows won't rattle. Check that your stabilizer is tight and balanced.
Test your release aid. Make sure it clicks smoothly and holds your arrow securely. Clean or replace it if it feels rough or inconsistent.
Final Field Verification
Arrive at your hunting location early and shoot a few arrows before settling into your stand. Shoot from the same distance and position you'll be hunting from. This final check takes only 10 minutes but can prevent a complete miss.
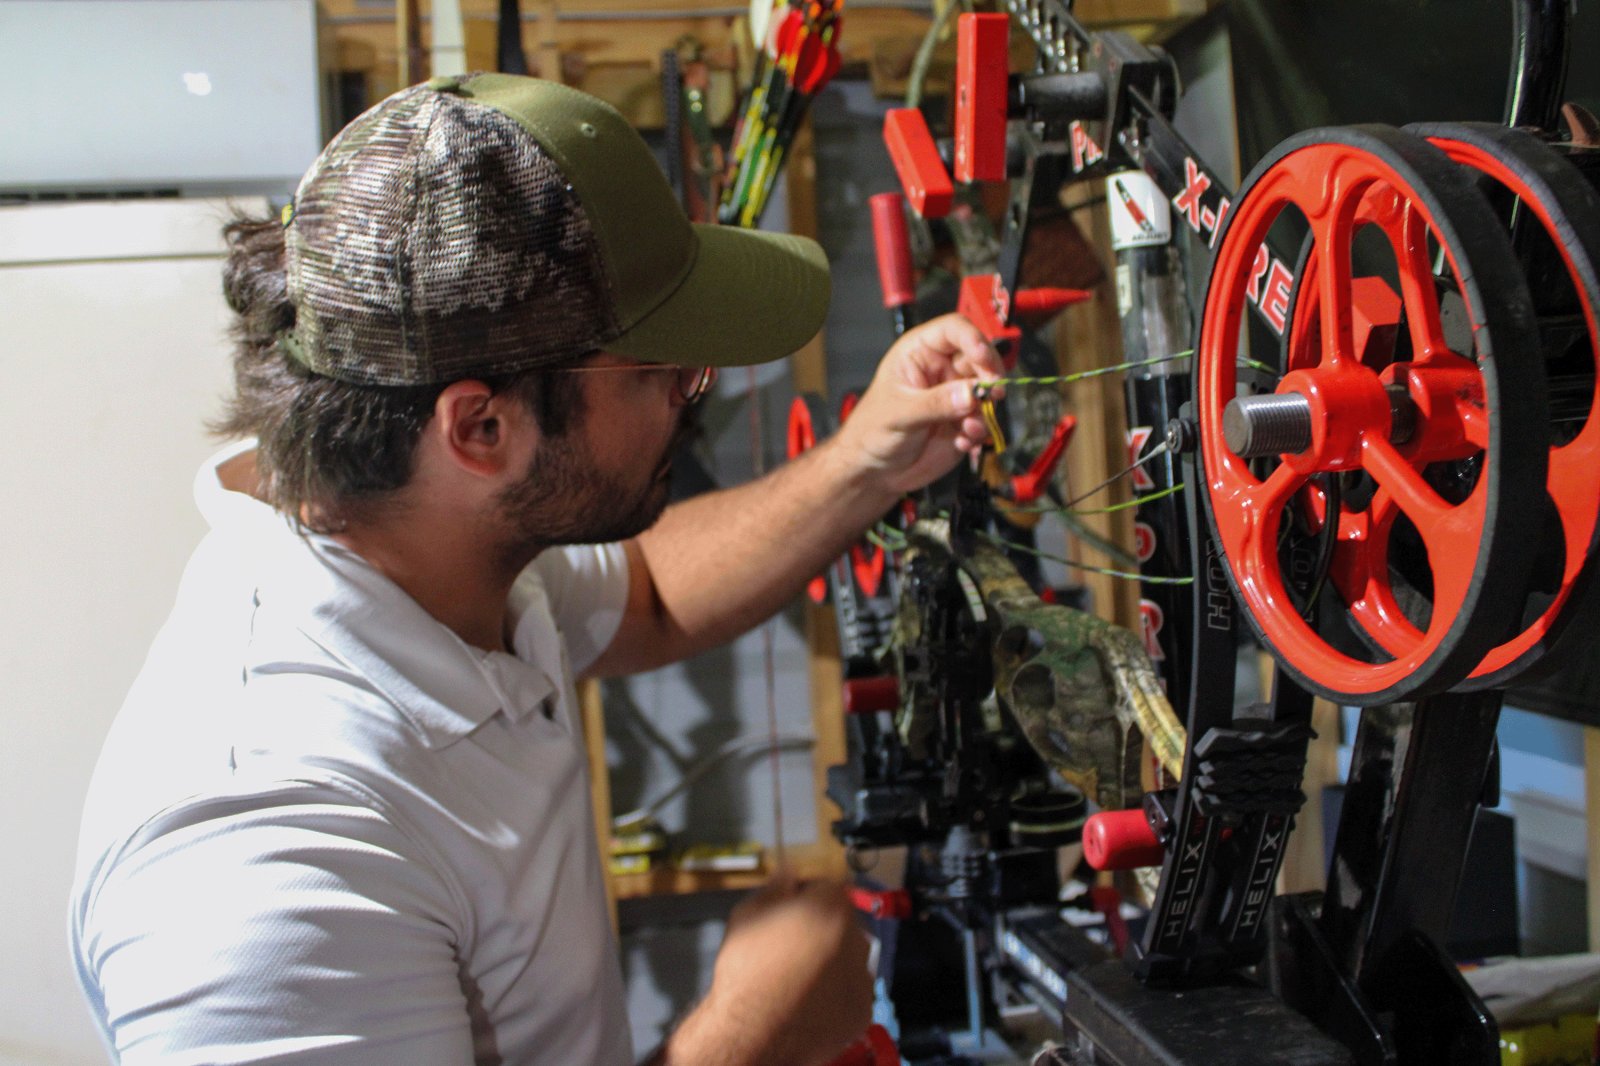
Step 6: Establish Your Bow Hunting Practice Routine
Practice before hunting season builds muscle memory and confidence.
Shoot at least three times per week during the month before season opens, starting at 15 yards and working up to 30 yards. Shoot from different positions, standing, kneeling, and elevated.
Spend 60 percent of your practice time between 20 and 40 yards. Shoot at least 20 arrows per session.
Use broadheads for at least half your practice shots. Broadheads fly differently than field points. If you only practice with field points, your first broadhead shot during season will surprise you. Practice with broadheads so your brain learns the difference.
Keep a practice log. Write down your distance, number of arrows, and how many hit your target. Track your progress. If your groups are getting tighter, you're improving. If they're spreading out, something has changed, your form, your bow, or your equipment.
Step 7: Pre-Hunt Field Inspection and Maintenance
The night before you hunt, do a final inspection. Check your bowstring for dirt or damage. Wipe it clean with a dry cloth. Dirt and moisture weaken strings over time.
Inspect your arrow shafts for cracks or bends. Bend each arrow slightly to feel for weak spots. A cracked shaft can splinter and cause injury. Replace any damaged arrows.
Check your broadheads. Make sure they're sharp and seated firmly on your arrows. A loose broadhead can rotate during flight. A dull broadhead won't penetrate properly.
Test your release aid. Make sure it clicks smoothly and holds your arrow securely. A sticky release changes your shot.
Check your sight one more time. Make sure all pins are visible and your peep sight is clear. Dirt or debris in your sight costs you accuracy.
Arrive at your hunting location early so you have time to shoot a few arrows before the hunt. This confirms everything is working. If something feels off, you'll know before you need to take a shot.
At Central Florida Archery, our certified bow technicians can perform a complete pre-season inspection and tuning. We check every component, verify your sight settings, and test your arrow flight. This takes the guesswork out of preparation and gives you confidence heading into hunting season.
The effort to prepare bow for hunting takes time, but it pays off when you're in the field. A well-maintained, properly tuned bow shoots accurately and reliably. You'll have confidence in your equipment and focus on the hunt itself.
The Bear Adapt 2 RTH Package from our pro-shop comes fully equipped with all the accessories you need, sight, rest, quiver, stabilizer, and peep sight, so you can start hunting right away. Whether you need help with tuning, sighting in, or a complete equipment inspection, Central Florida Archery has the expertise to get you ready. PLAN A VISIT to our 20-target outdoor range and let our certified technicians dial in your setup before season opens.

Frequently Asked Questions
What should you check before hunting with a bow?
Before hunting, inspect your bowstring for fraying or damage, verify all limb bolts are tight, check that your sight pins are secure and properly sighted, ensure your arrow rest is clean and functioning, confirm your broadheads are sharp and seated properly on arrows, and test your release mechanism. A complete bowhunting setup checklist covers these essentials plus stabilizer attachment, quiver security, and peep sight alignment. Missing any of these checks risks failure in the field.
How do you tune a bow for hunting?
Start by paper tuning to verify arrow flight: shoot through paper at close range and adjust your rest and sight until the arrow tears a clean hole. This ensures your bow shoots accurately and your arrows fly true.
How many times should you practice before bowhunting season?
Practice at least 3–4 times per week for 8–12 weeks before season. Start at close range (10–15 yards) to build form and confidence, then gradually increase distance to your expected hunting range. Your bow hunting practice routine should include 20–30 shots per session, focusing on consistent form rather than speed. Most hunters need 200+ practice shots to develop muscle memory and accuracy. Practice at different angles and from elevated positions to simulate real hunting scenarios.
Is a 40 lb bow enough for a deer?
Yes, a 40 lb bow is adequate for deer hunting if your arrow setup is correct. However, success depends on arrow weight, broadhead sharpness, and shot placement. Higher draw weight (50–60 lbs) provides better penetration and flatter trajectory, especially at longer ranges. The Bear Adapt 2 RTH Package offers adjustable draw weights from 45–60 lbs, giving you flexibility to match your strength while maintaining ethical hunting standards.