

Last Updated: October 23, 2026
Quick Summary
Beginner archery equipment requires six essential components: a bow, bowstring, arrows, finger protection, an arm guard, and a quiver. For most beginners, a recurve bow is the best starting point because it's forgiving, affordable, and teaches proper form. A complete starter kit costs roughly $200 to $250 and includes a quality recurve bow, a dozen aluminum arrows, protective gear, and a bow stringer.
- Recurve bows are ideal for beginners; they teach proper form without electronic assistance or complex tuning.
- Draw length typically ranges from 26 to 30 inches for beginners and is measured by dividing arm span by 2.5.
- Arrow spine must match your draw weight and bow type, or accuracy will suffer regardless of shooting form.
- Always use a bow stringer to string your bow; hand-stringing risks cracking the limbs and causing injury.
- A complete Phase 1 setup costs $200 to $250 and includes a bow, arrows, finger protection, arm guard, and stringer.
Table of Contents
- Essential Beginner Archery Equipment: What You Actually Need
- How to Choose a Bow for Beginners
- How to Choose Arrow Length and Match Arrows to Your Bow
- Archery Safety Equipment and Protective Gear
- Building Your Equipment Setup Step by Step
- Beginner Equipment Budget and Staged Purchasing Plan
- Common Beginner Setup Mistakes and How to Avoid Them
- Getting Started: Your First Session and Next Steps
- Frequently Asked Questions
Essential Beginner Archery Equipment: What You Actually Need
Getting into archery doesn't require a closet full of gear, the right equipment does.
The core pieces are straightforward: a bow, arrows, finger protection, an arm guard, and a place to shoot safely. Everything else is refinement.
This guide walks you through selecting and setting up beginner archery equipment: choosing the right bow type and size, matching arrows to your specifications, fitting protective gear, and assembling everything into a functioning system.
The Core Pieces Every Beginner Needs
A functional beginner archery equipment setup requires six essential components: a bow, a bowstring, arrows, finger protection, an arm guard, and a quiver. Each serves a specific purpose, and skipping any creates problems.
The bow is your primary tool. For most beginners, a recurve bow is the best starting point: it's forgiving, affordable, and teaches proper form without electronic assistance.
Arrows matter more than most beginners realize. They're not interchangeable: too stiff and the arrow veers unpredictably, too soft and it flexes erratically.
Finger protection keeps your shooting hand from bruising, choose a finger tab (a leather guard on three fingers) or a shooting glove; both work. An arm guard protects your inner forearm from the bowstring snapping against it during release. This isn't optional: even a light snap hurts, and repeated impacts cause bruising.
A quiver holds your arrows safely and keeps them organized; a simple back or hip quiver works fine for beginners.
How to Choose a Bow for Beginners
The bow you choose shapes your entire archery experience. Pick wrong and you'll struggle with form, accuracy, and confidence. The decision starts with bow type, then moves to draw weight and draw length, three factors that determine whether the bow feels natural.
Recurve, Compound, or Longbow: Which Type Fits You
Recurve bows are the standard for beginners and Olympic-style archery. The Galaxy Aspire 66 and 70 Take-Down Recurve Bows are solid entry points, offering lightweight construction and included bowstrings at an affordable price.

Compound bows use pulleys and cables. They're harder to draw at first but easier to hold at full draw.
Longbows are beautiful and traditional, but they demand excellent form from day one, your mistakes show up immediately.
Sizing Your Bow: Draw Length and Draw Weight
Your draw length is how far you pull the bowstring back. Your draw weight is how hard the bow pulls back.
Draw weight is measured in pounds, a 20-pound bow means you're pulling 20 pounds of force.
The Galaxy Aspire recurve bows come in 66-inch and 70-inch lengths, with draw weights from 15 to 35 pounds.
How to Choose Arrow Length and Match Arrows to Your Bow
Arrows are where many beginners stumble. They assume arrows are generic, but each has specific properties, spine, length, weight, and material, that must match your bow and draw length.
Measuring Your Draw Length Correctly
Your draw length determines your arrow length. At full draw, the arrow should extend about an inch past the bow's grip: too short and it can slide off the rest and hit your hand, too long and you lose accuracy.
Many beginners measure draw length incorrectly and end up with arrows that don't fit. If you're uncertain, Central Florida Archery can measure you during an introductory session, the Discover Archery Class includes expert instruction and measurement to ensure your equipment is sized correctly from the start.

Arrow Spine and Material Selection
Arrow spine is the stiffness of the shaft, measured on a scale where lower numbers mean stiffer arrows, a 30-spine arrow is stiffer than a 40-spine.
Arrow material affects performance too.
When you select arrows, provide your draw length and draw weight to the seller. They'll recommend the correct spine. Don't guess, a mismatch means poor accuracy and wasted practice time.
Archery Safety Equipment and Protective Gear
Safety equipment isn't optional, it's the foundation of every shooting session. Archery is safe with proper gear and range rules, and dangerous without them.
Finger Protection: Tab or Glove
Your fingers take the bowstring's impact every shot; without protection you'll develop calluses, blisters, and bruising. A finger tab covers three fingers of your drawing hand; a shooting glove covers the entire hand. Both protect equally well. Tabs are lighter and give more feel for the string; gloves are warmer with more coverage. Most Olympic-style archers use tabs, while smaller hands favor a glove.
Arm Guards, Slings, and Other Essentials
An arm guard (or bracer) protects your inner forearm from the bowstring, which snaps forward on release and stings if it contacts your arm. The Infitec Archery Flexible Plastic Easy Armguard is affordable and comfortable for beginners, with adjustable straps that fit most arm sizes. A finger sling prevents dropping the bow after release, and a bow stand keeps your bow upright between ends.
Building Your Equipment Setup Step by Step
Once you've selected your equipment, assembly and adjustment are straightforward. Here's the methodical walkthrough most beginners need.
Galaxy Aspire 66 Take-Down Recurve Bow →
Step 1: Assemble Your Bow and String
Start with your bow, limbs, and bowstring. If you have a takedown bow, insert the limbs into the riser, aligning the limb pockets so they seat fully. Then use a bow stringer: slide its two loops over the upper and lower limbs, step on the middle of the stringer, pull up on the riser, and slide the bowstring into place.
Step 2: Fit and Adjust Your Protective Gear
Put on your arm guard first, sliding it up your forearm to cover where the bowstring will snap. Adjust the straps snug but not cutting off circulation. Next, put on your finger protection: if using a tab, slide your index, middle, and ring fingers through the slots and adjust the wrist strap so it holds without restricting movement; if using a glove, pull it on snugly without bunching.
Step 3: Nock Your Arrows and Check Alignment
Nocking is placing the arrow on the bowstring: the arrow's nock clips onto the string, and the arrow sits perpendicular to it, resting on the arrow rest.
Beginner Equipment Budget and Staged Purchasing Plan
You don't need to buy everything at once. Stage your purchases, starting with essentials and adding refinements as you progress.
Phase 1: Essential Starter Kit
Your first purchase should cover the basics: a bow, bowstring, arrows, finger protection, and an arm guard. A quality recurve bow like the Galaxy Aspire 66 or 70 costs around $130. A dozen aluminum arrows run $40 to $60.

Total for Phase 1: roughly $200 to $250. This gets you shooting safely and competently. The Discover Archery Class at Central Florida Archery costs $55 and includes expert instruction, a range pass for the rest of the day, and two weeks of Bronze Membership with free equipment rental.
Phase 2: Accessories and Refinement
Once you've shot for a few weeks, you'll identify what you want to improve. Phase 2 additions might include a quiver, a bow stand, a release aid, or a sight. A basic sight like the SCORPION SIGHT costs $77.50 and improves accuracy significantly.
Add these only when you've identified a real need, not before. Beginners often buy accessories they never use.
Common Beginner Setup Mistakes and How to Avoid Them
Most setup problems trace back to a few predictable mistakes.
The first mistake is choosing a bow that's too heavy.
The second mistake is buying arrows without matching them to your draw length and draw weight.
The third mistake is skipping protective gear to save money.
The fourth mistake is stringing the bow by hand instead of using a stringer.
The fifth mistake is not measuring draw length correctly.
Getting Started: Your First Session and Next Steps
Your first time at the range should be structured and safe.
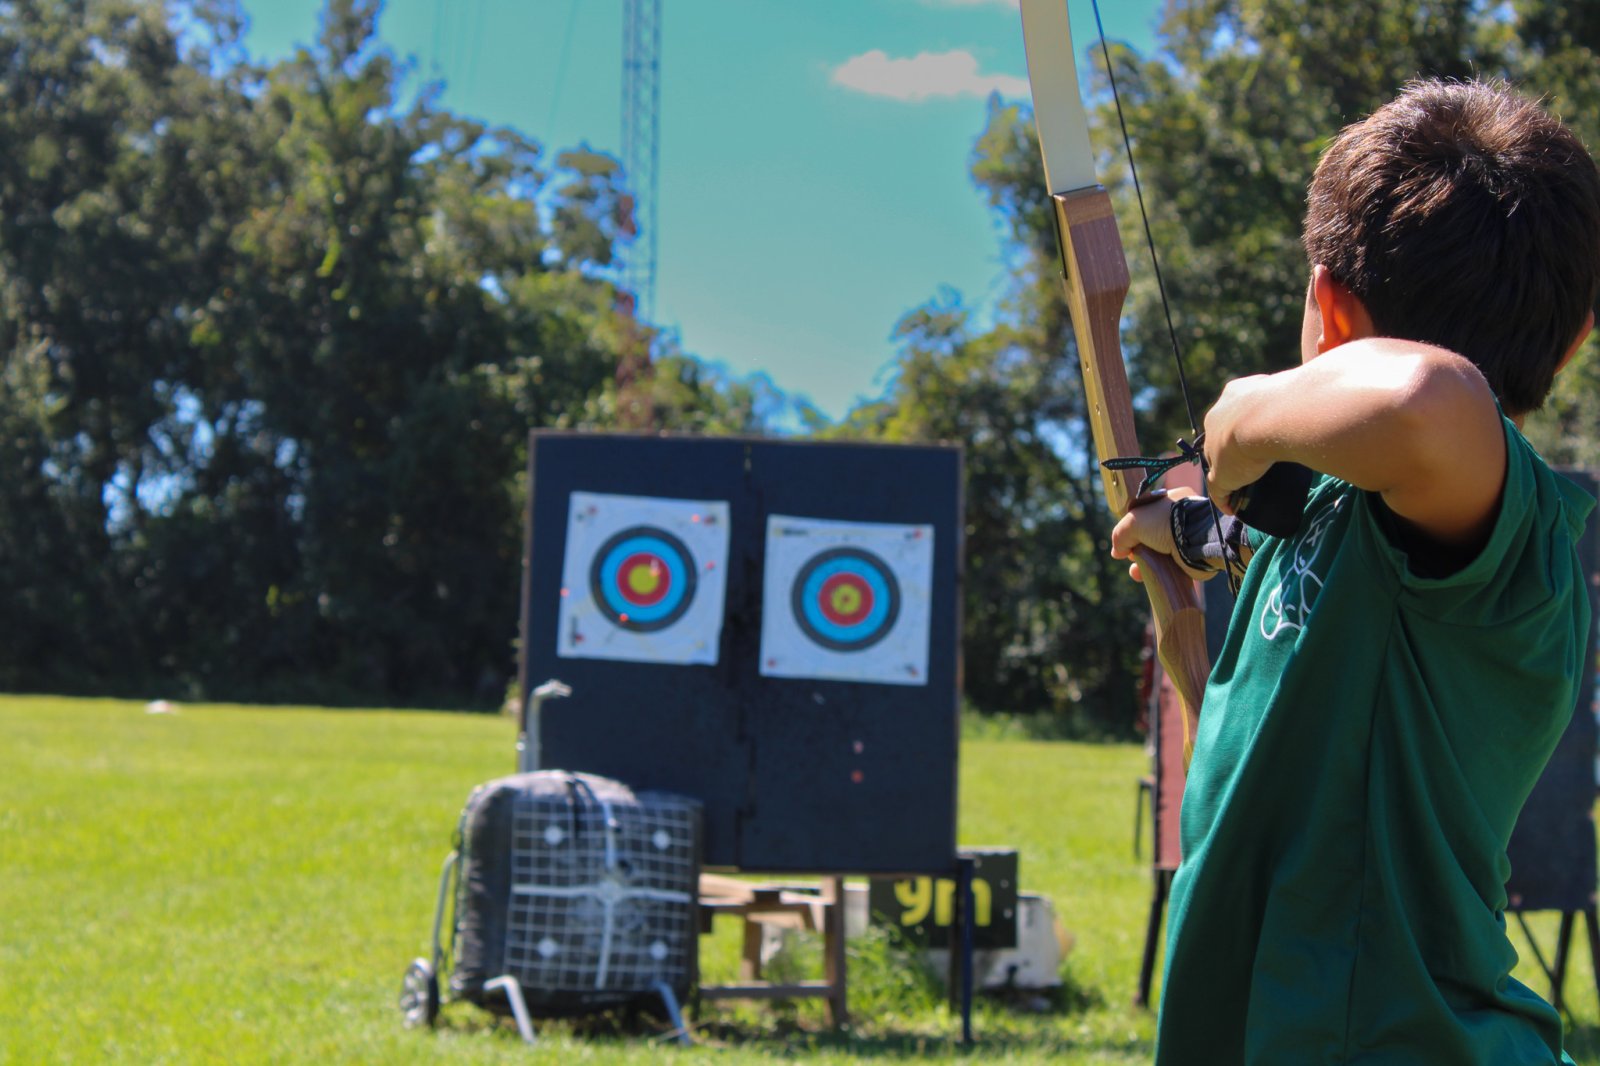
Start at a short distance, 9 meters is standard for beginners. This lets you see your arrows land clearly and gives immediate feedback. Shoot 6 to 12 arrows, then walk downrange to collect them. Repeat for 30 to 45 minutes. Your muscles and mind will tire quickly at first, and that's normal.
Pay attention to how your equipment feels. Does the bow sit comfortably in your hand?
After a few sessions, consider taking a lesson.
As you progress, you'll naturally want to shoot farther, try new techniques, or join a club.
Beginner archery equipment setup feels overwhelming until you understand the logic behind each piece.
Frequently Asked Questions
What equipment do you need to start archery?
You need a bow, arrows, a bowstring, finger protection (tab or glove), an arm guard, and a quiver. Beginners also benefit from a bow stringer for safe string installation, a target, and a backstop. Many archers add a sight and stabilizer as they progress. Central Florida Archery's Discover Archery Class includes equipment rental for your first session, so you can try everything before buying.
How do I measure my draw length for beginner archery equipment?
Stand with your arms extended to the sides at shoulder height. Have someone measure from the tip of your middle finger on one hand to the tip of your middle finger on the other hand, then divide by 2.5. Alternatively, draw your bow with an arrow and have an instructor mark where the arrow nock sits at your anchor point. Most beginners fall between 26 and 28 inches. Correct draw length is critical for safety and accuracy, so professional measurement is worth the investment.
What draw weight should a beginner choose?
Most adult beginners start with 20-25 pounds of draw weight. Starting light reduces fatigue and lets you focus on form and technique. Children typically begin at 15-20 pounds depending on age and strength. Too much draw weight causes poor form and injury risk. The Galaxy Aspire recurve bow comes in multiple draw weights (15-35 lbs) so you can scale as you build strength. A certified instructor can recommend the right weight for your body and experience.
How do I know what arrow length I need?
Arrow length matches your draw length plus 1.75 inches for safety clearance. If your draw length is 27 inches, your arrows should be 28.75 inches long. Arrows that are too short risk sliding off the bowstring and causing injury. Arrows that are too long waste energy and reduce accuracy. Have your draw length measured by a professional before ordering arrows. Arrow spine (stiffness) must also match your bow's draw weight and type.
Can I learn archery with a rental bow instead of buying equipment?
Yes, renting is an excellent way to start. The Discover Archery Class at Central Florida Archery includes equipment rental and 2 weeks of Bronze Membership for $55, giving you time to practice before investing in your own gear. Renting lets you try different bow types and sizes to see what feels right. Once you're confident in your choice and commitment, buying your own equipment makes sense. Most beginners rent for 4-8 weeks before purchasing.
What are the most common beginner archery setup mistakes?
Common mistakes include using draw weight that's too heavy, wearing protective gear incorrectly, nocking arrows inconsistently, and failing to check arrow spine compatibility with your bow. Many beginners also skip professional instruction and develop bad form habits that are hard to break. Arm guards worn too loose won't protect you, and finger tabs placed wrong reduce comfort and accuracy. Professional setup and instruction from certified coaches prevents these issues and builds confidence faster.
How much does a complete beginner archery equipment setup cost?
A basic starter setup runs $200-400. The Galaxy Aspire 66 or 70 Take-Down Recurve Bow costs $129.99 and includes a bowstring. Add arrows ($60-100), finger protection ($20-40), an arm guard ($9.99-30), a quiver ($30-60), and a bow stringer ($15-25). Optional accessories like a sight ($77.50 for the Scorpion Sight), stabilizer, and target add another $100-200. Starting with essentials and adding accessories as your skills grow spreads costs over time.
What protective gear do beginner archers actually need?
Essential gear includes an arm guard to protect against bowstring impact, finger protection (tab or glove) to shield your fingers from the string, and a finger sling to prevent dropping your bow. Many ranges also require closed-toe shoes and recommend eye protection. Arm guards and finger tabs are non-negotiable for safety and comfort. The Infitec Flexible Plastic Easy Arm Guard offers affordable, beginner-friendly protection at $9.99. Proper gear lets you focus on technique instead of worrying about injury.
